Skype lets you call your friends, family, or coworkers for work or just casual chats. But, sometimes, Skype would suddenly stop working on Windows 10 or Windows 11 due to unknown reasons. It can be a very panicky situation especially when you need to make an important call urgently.
A common problem is Skype not connecting to its server. This stops both its voice and video call functions. Usually, it’s because of internet issues or wrong internet settings, such as DNS or proxy, that can mess up things that require internet connectivity like Skype. This guide will help you fix some common issues with Skype.
Page Contents
Check camera and microphone permissions
First things first, you have to make sure Skype is allowed to use your camera and mic. Windows 10 and Windows 11 have these privacy settings that sometimes say “nope” to an app wanting to use your hardware. You need to check these settings and grant the app permissions to use your camera and mic.
To check these privacy settings, follow these steps:
- Go to the Start menu.
- Search for Privacy settings and open it.
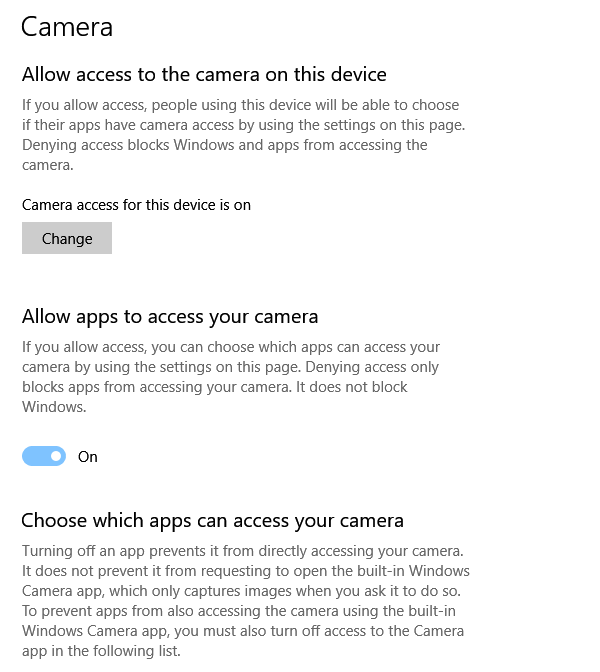
- From the left pane, select Camera.
- Make sure the “Allow apps to access your camera” option is toggled on.
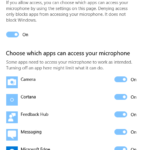
- From the left pane, click on Microphone.
- Make sure the “Allow apps to access your microphone” option is enabled.
- Under “Choose which apps can access your camera (and microphone),” make sure Skype is checked and enabled.
After that, open Skype and make a call again. If the problem persists, continue to the next solution.
Check your Windows Firewall or other Firewall
Another common reason for Skype not working on Windows 10 or Windows 11 is the Firewall blocking the app. If you have a working internet connection and you can access any website on the same computer, check your Firewall to see if Skype is on the block list.
If you don’t use any external Firewall like your antivirus firewall program, Windows will automatically activate its Firewall to protect you from malicious attacks and advanced threats. The Firewall will add a program to its block list if it thinks the program may endanger your computer. It’s very common that Windows Firewall will sometimes mistakenly add Skype to the block list, making any connection to or from Skype impossible.
Here’s how to check if Skype is on your Firewall block list:
- In Windows 10 or Windows 11, go to Start menu.
- Search for Windows Security and open it.
- On the left panel, click on Firewall & network protection.
- Click on Allow an app through Windows Firewall.
- Look for Skype from the list and make sure both the check-boxes for Private and Public are checked for Skype. It means to allow Skype connections on Private and Public networks.
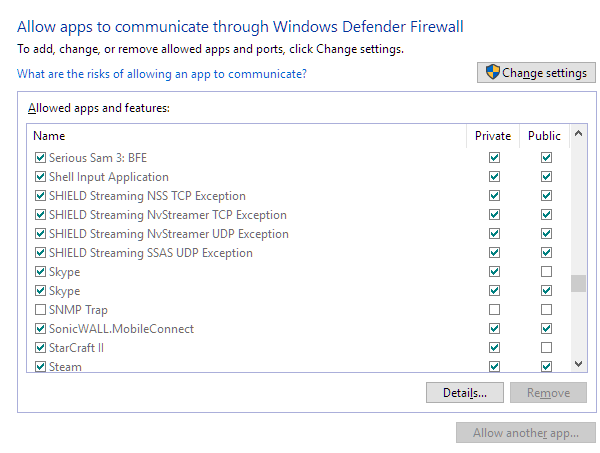
If Skype is not on the list, you can manually add it to the allowed apps list by clicking on “Change settings” and then “Allow another app.” Browse and select the Skype app, and click on “Add.”
Check your proxy and DNS settings
If you’re seeing the Skype not connecting calls or server on Windows 10 or Windows 11, it could be due to misconfigured proxy or DNS settings. If you have a proxy set, check if the proxy is working as intended. If you don’t use a proxy, check if there is any proxy unintentionally set in your PC. For a detailed guide on how to check your proxy settings in Windows 10 or Windows 11, read here.
If you are using your default ISP DNS, it could be the DNS server that is causing Skype to not work. You may want to change to a public DNS like Google or Cloudflare DNS. Read: How to change DNS in Windows 10 or Windows 11.
Reset Skype
If Skype is still not working in your Windows 10 or Windows 11 after trying all the fixes above, you can try to reset Skype to its factory settings. This will delete all your Skype app data, including your chat history, and sign you out from the app. So make sure to backup your chat history before resetting.
To reset Skype, follow these steps:
- Close the Skype app.
- Open the Settings app on Windows 10 or Windows 11.
- Click on Apps & features.
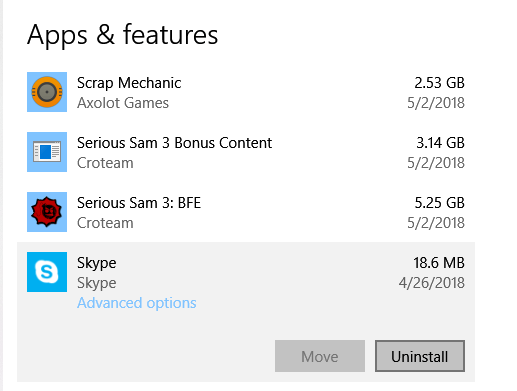
- Locate and select Skype from the list of apps.
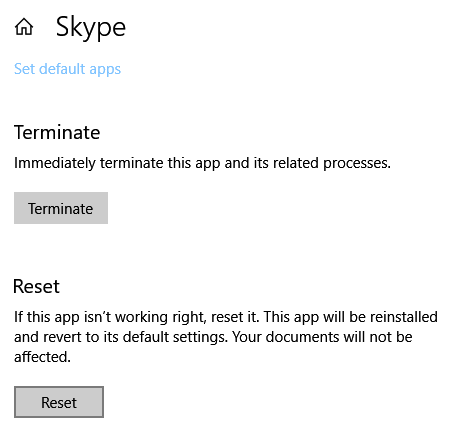
- Click on “Advanced options.”
- Scroll down until you see the “Reset” button. Click on it to reset Skype to its factory settings.
Reinstall the Skype app
If you can’t even open the Skype app, or if the Skype app keeps crashing, you can try to reinstall it. To reinstall the Skype app for Windows 10 or Windows 11, first, we will have to uninstall it.
To uninstall Skype on Windows 10 or Windows 11, follow these steps:
- Go to Start menu > Settings > Apps & features.
- Locate and select Skype from the list of apps.
- Click on Uninstall.
After uninstalling Skype, you can download and install the app again from the Microsoft Store or from the official Skype website.
To reinstall Skype from the Microsoft Store on Windows 10 or Windows 11, follow these steps:
- Go to Start menu.
- Search for Microsoft Store and open it.
- Search for Skype in the Microsoft Store.
- Click on the Skype app and click on Get.
- Wait for the app to download and install.
Alternatively, you can download and install the official Skype software from Skype.com. Once you have downloaded the software, follow the installation instructions.