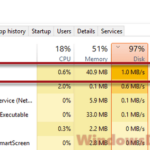
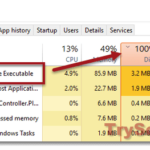
When you open the Task Manager in Windows 10 or Windows 11, you might notice a suspicious process called Search Indexer, also known as searchindexer.exe, consuming a high percentage of your CPU and Disk usage. In this post, we will explain what the Search Indexer service is and provide solutions to fix or disable Search Indexer’s high CPU or Disk usage problem.
Also see: High CPU Usage After Windows 11/10 Update (Fix)
Page Contents
Why is Search Indexer causing high CPU and Disk usage?
When you search for files in the Windows 10 or Windows 11 start menu or File Explorer, the search results may appear almost instantly. This is because the files have been indexed by Search Indexer to allow for quick searching. The indexing process, however, can use up CPU resources and keep your Disk busy while trying to index files and contents in the background. Thus, searchindexer.exe may appear to be running continuously at high Disk or CPU usage, sometimes as high as 100%.
The amount of time and resources required for indexing depend on factors such as the power of your CPU, the speed of your hard disk drives, and the size of the files being indexed. The search indexing process can potentially slow down your computer.
How to disable Search Indexer in Windows 10/11
While we do not recommend disabling the Search Indexer service, you can turn it off to eliminate the slow down problem. Before disabling the service, however, we recommend trying the other fixes listed below.
Disabling Search Indexer for a specific disk
To disallow Search Indexer from indexing a particular disk, follow these steps:
- Open File Explorer and navigate to This PC, where all your drives are listed.
- Right-click on the disk you want to disallow indexing for.
- Select Properties.
- At the bottom of the Properties window, uncheck the box that reads Allow files on this drive to have contents indexed in addition to file properties.
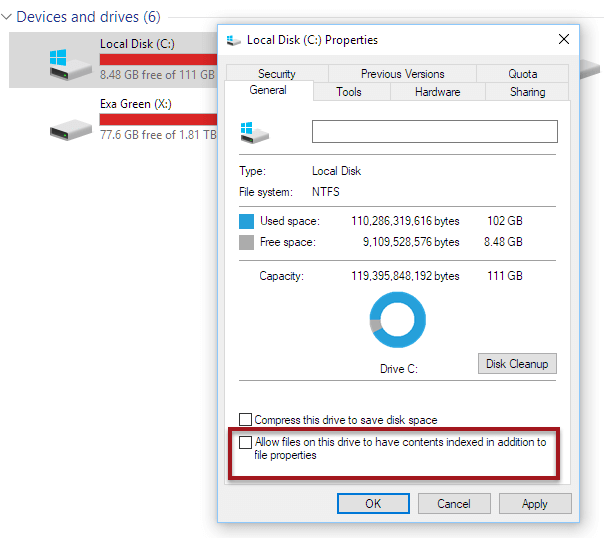
- Click Apply, then OK.
- Restart your computer.
Search Indexer should stop indexing contents on that particular drive. Use this method to stop indexing for drives with a large amount of data that you don’t need indexed.
Completely disabling search indexer
To completely disable the Search Indexer service, follow these steps:
- Go to the start menu.
- Type services.msc and open it.
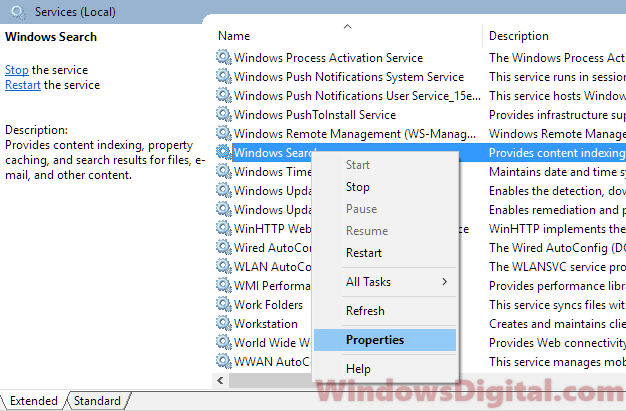
- In the Services window, look for Windows Search from the list of services on the right panel.
- Right-click on it and select Properties.
- Beside startup type, click on the drop-down menu and select Disabled.
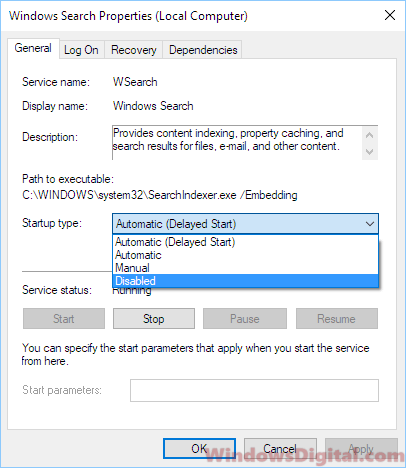
- Click Apply, then OK.
- Restart your PC.
The Search Indexer service should now be disabled and won’t index any files or contents until you re-enable it. Note that searches for files and contents may take longer now.
Restart Search Indexer (searchindexer.exe) service
Restarting Search Indexer Service
Before completely disabling the Search Indexer service, you should try to restart the service and see if it resolves the high Disk or CPU usage problem.
Sometimes searchindexer.exe can get stuck when indexing files or folders that are too large or are frequently accessed. Restarting the Windows 10 or Windows 11 Search Indexer service can help fix the high Disk/CPU usage issue.
To restart the service, follow these steps:
- Press Windows key + R to open the Run window.
- Type services.msc and hit Enter.
- In the Services window, find Windows Search from the list of services.
- Right-click on it and select Properties.
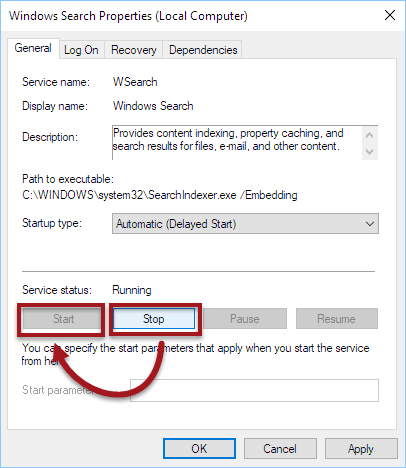
- Click on the Stop button to stop the service immediately.
- Click on the Start button to restart it.
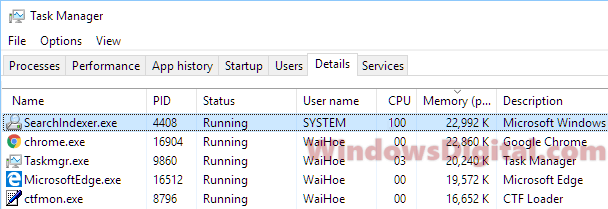
- Check your Task Manager again to see if Search Indexer is still using high CPU or Disk usage.
Manually selecting directories to index
When Search Indexer runs non-stop at high Disk/CPU usage, you may want to manually select the directories or folders you want to index. This allows Search Indexer to index only those directories, saving resources by not indexing other large folders you rarely access.
To do this, follow these steps:
- Go to the start menu.
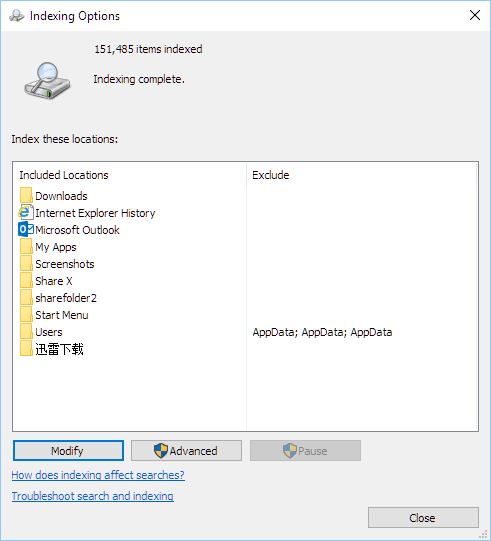
- Search for indexing, then open Indexing Options from the search results.
- Click on the Modify button.
- Optionally, click on Show all locations before modifying.
- Select or deselect folders or directories you want Search Indexer to index under Change selected locations.
Search Indexer indexes each item only once, and will only index the same item again if changes are made to the file. By selecting only the folders you want it to index, you can immensely reduce the searchindexer.exe high CPU/Disk usage, especially if you have multiple disks with large amounts of data.
Troubleshooting and rebuilding the index to fix high CPU or disk usage
If none of the above solutions work to resolve the Search Indexer high Disk or CPU usage issue, try running the troubleshooter for search and indexing in Windows 10 or Windows 11.
To troubleshoot and rebuild the index, follow these steps:
- Open Indexing Options as outlined above.
- In the Indexing Options window, click on the Advanced button.
- Under Troubleshooting in the Index Settings tab, click on the troubleshoot search and indexing link.
- The troubleshooter should start to automatically identify and resolve any problems.
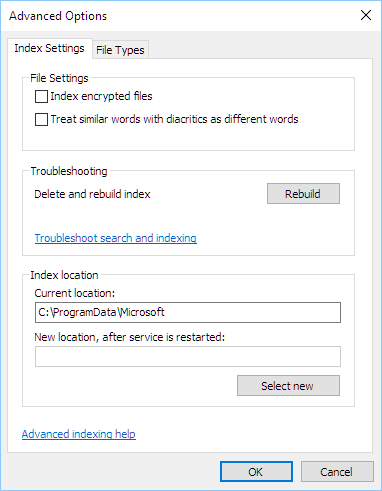
If there is an issue with Search Indexer, rebuilding the search index can help resolve it. To rebuild the index, follow these steps:
- Open the Indexing Options window again.
- Click on Advanced.
- Under Troubleshooting, click on the Rebuild button to rebuild the entire search index.
- This may take some time as Search Indexer reindexes your contents.
- After the index is finished, Search Indexer should stop working until new files are added to your disk.
We hope that these solutions have helped resolve your Search Indexer high CPU or Disk usage problem in Windows 10 or Windows 11.