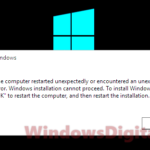
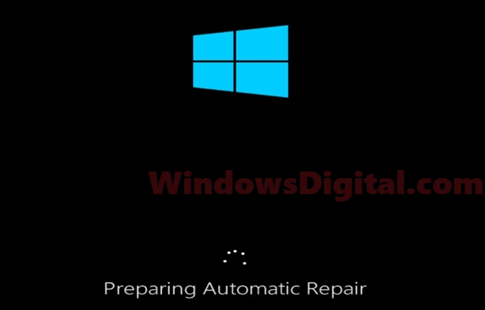
If your computer keeps booting back to the “Preparing automatic repair” black screen in Windows 10/11, you’re likely stuck in a continuous loop that attempts to perform startup repair but always ends up showing error messages such as “Your PC did not start correctly” or “Windows 10 Automatic Repair couldn’t repair your PC”.
This guide will show you how to solve the problem and repair Windows 10/11 without losing your files.
Page Contents
What causes the “Preparing Automatic Repair” loop in Windows 10/11?
The automatic repair loop indicates that your Windows 10/11 boot files or system files are either corrupted or missing. This problem can be caused by:
- Changes in software, such as after a Windows Update.
- Corrupted or missing system files.
- Virus or malware infection.
- Unknown conflicts between software, such as antivirus software.
- Hardware failure, such as hard drive, graphics card, or RAM failure.
Try to run repair tools using Command Prompt in Safe Mode or Windows RE
Since the issue directly relates to Windows 10/11 boot files and possibly system files, you should try to run a series of common repair tools by command such as:
- System file check command to automatically scan and repair system files.
- Chkdsk tool to check for disk error.
- DISM to repair Windows 10/11 image.
- Bootrec.exe to repair Windows 10/11 boot problems.
To learn how to repair Windows 10/11 using command prompt on startup without booting into Windows, read: How to startup repair Windows 11/10 using command prompt.
System restore, rollback or reset Windows
If none of the tools you’ve executed in command prompt works to fix the “Preparing automatic repair” boot loop problem, you can then proceed to do a system restore, rollback, or reset for your Windows 10/11.
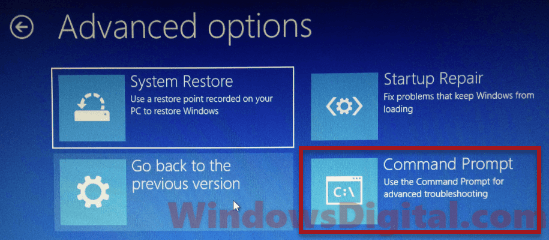
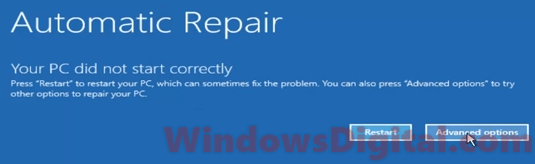
These options will be available when you enter Windows Recovery Environment. To boot into Windows recovery, when you’re on the “Preparing automatic repair” black screen, wait for it to finish diagnosing your PC. When it returns the “Your PC did not start correctly” blue screen error, instead of clicking Restart, click on “Advanced options“. Then, select “Troubleshoot” to access all the recovery options available to you. Here’s what you can do.
Roll Back Windows Update
If you have just installed a major Windows 10/11 update and immediately after that, your PC ran into the “Preparing automatic repair” boot loop problem, try to roll back Windows 10/11 update to an earlier version. You can do this by navigating to “Troubleshoot” > “Advanced options” > “Go back to the previous version”.
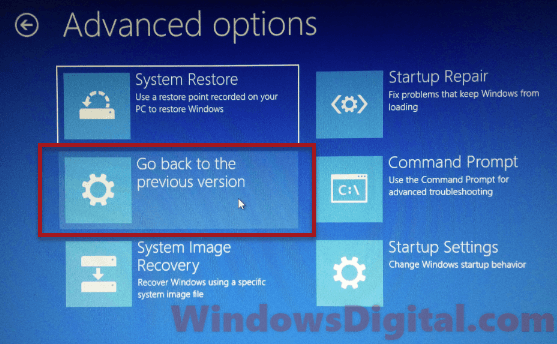
System Restore Windows to an Earlier Date
If the “Go back to the previous version” option doesn’t appear, and if you have a restore point or a recovery drive created prior to the happening of the “Preparing automatic repair” black screen problem, you should try to system restore Windows 10/11 to an earlier date. You can do this by selecting “Troubleshoot” > “Advanced options” > “System Restore“.
Reset Windows to Factory Settings
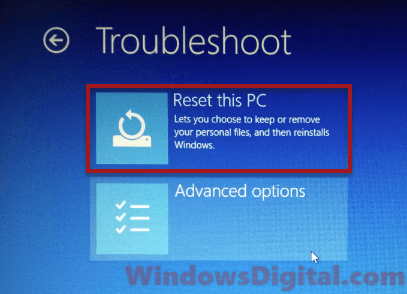
If you don’t have a restore point or a recovery drive, system restore will not be possible. The only option left is to reset Windows 10/11 to factory settings. The reset of Windows 10/11 will allow you to keep your files and only reinstall the Windows 10/11 system files. So, you can actually reinstall Windows 10/11 without losing any file. To do this, navigate to “Troubleshoot” > “Reset this PC“.
Tips to prevent the “Preparing Automatic Repair” boot loop in Windows 11/10
While the “Preparing automatic repair” boot loop can be frustrating to deal with, there are steps you can take to prevent it from happening in the first place. By following these tips, you can reduce the risk of encountering this issue and ensure that your Windows 10/11 system runs smoothly and reliably.
- Avoid force-shutting down your computer: If your computer is experiencing a problem, try to avoid force-shutting it down by holding down the power button. This can cause damage to your system files and potentially trigger the automatic repair loop. Instead, try to shut down your computer normally or use the restart option.
- Be careful with system tweaking: While it can be tempting to try and optimize your system by tweaking various settings, it’s important to be careful as this can sometimes cause issues that trigger the automatic repair loop. If you’re not sure what you’re doing, it’s best to avoid making changes to your system settings.
- Keep your Windows up to date: It’s important to regularly update your Windows operating system to ensure it has the latest security patches and bug fixes. However, be careful when installing major updates as they can sometimes cause compatibility issues with your hardware or software.
- Scan for malware regularly: Malware infections can cause a variety of problems with your computer, including corrupting system files and triggering the automatic repair loop. Make sure you have a good antivirus program installed and run regular scans to detect and remove any malware.